
For the words on the cover I found a font I liked and printed off the words in a large size. 130 point, the normal is 12. Traced them backwards on some iron on adhesive, and ironed them onto felt. Once they were cut out I ironed them onto a fabric panel. Easy!

Sometimes little velcro and snap pieces can get lost, so I put a pocket in the front cover to hold them.

What's a home without a Mommy and Daddy?

Or a cat and dog? I drew these on with a marker and then coated over them with matte modge podge so the marker wouldn't smudge or anything.

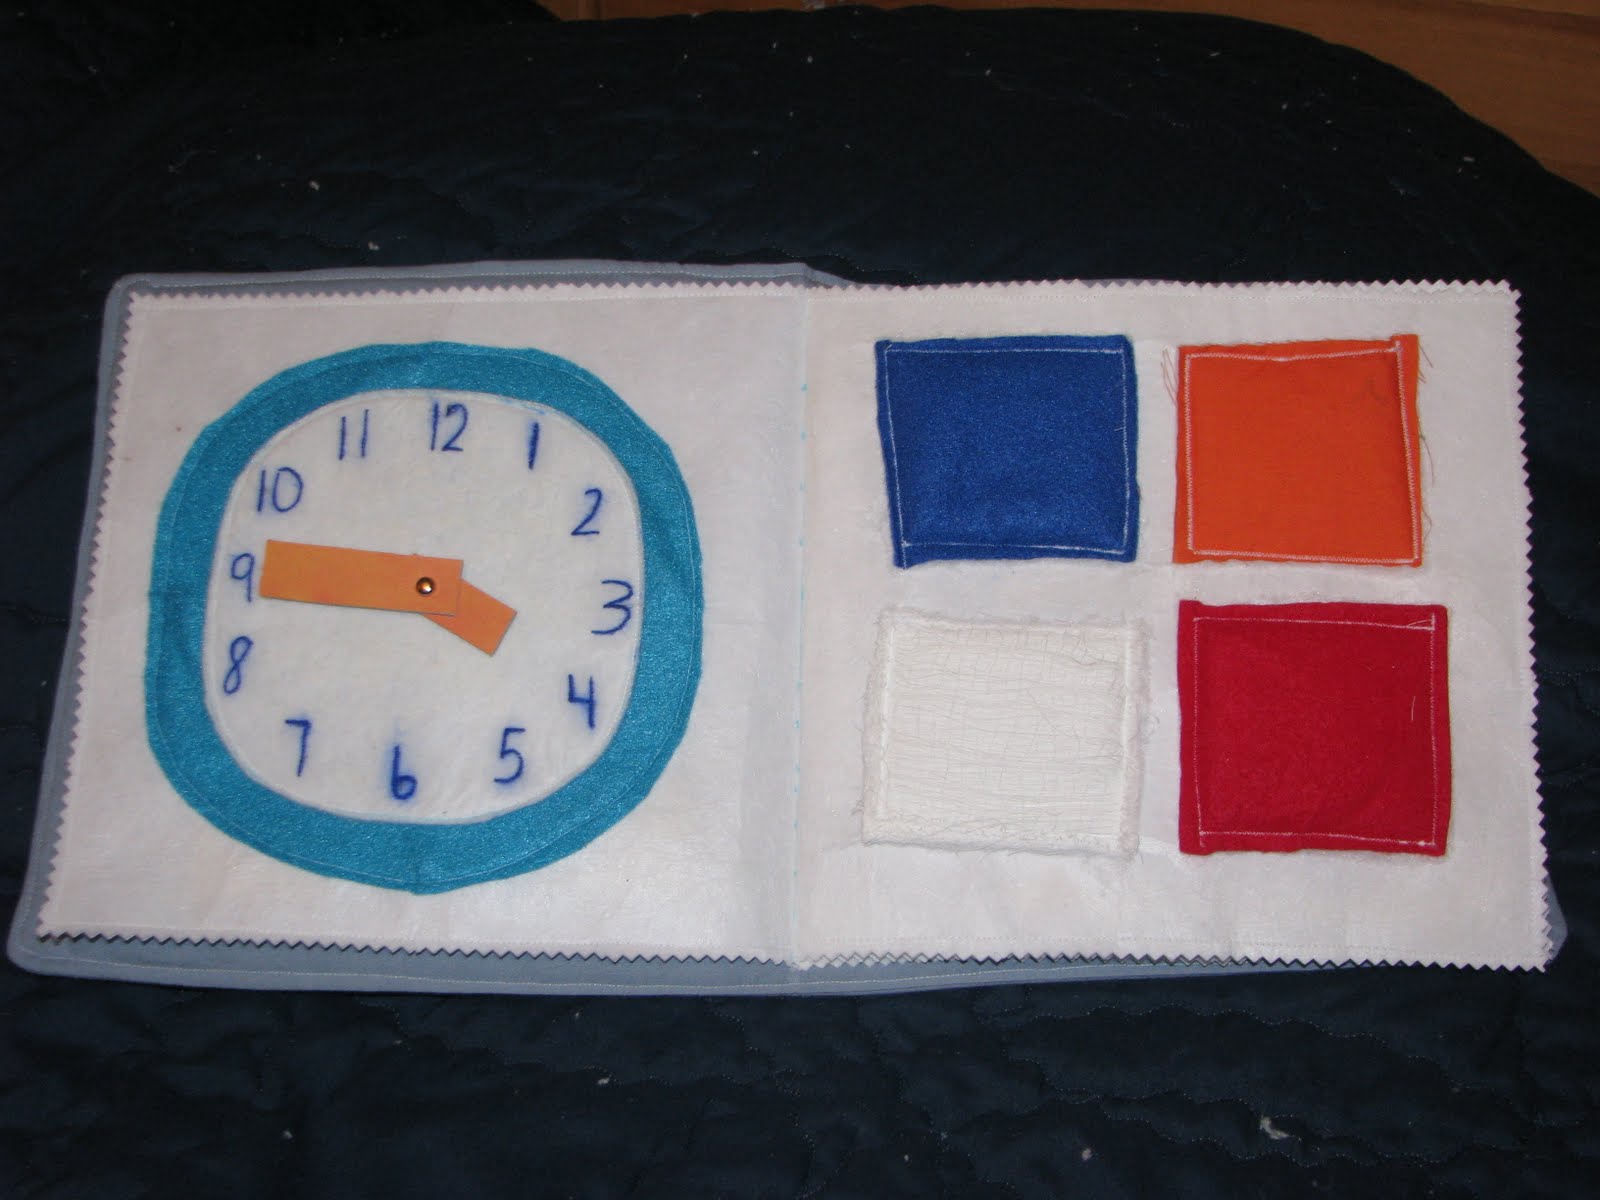
Time to tell the time! And a texture page. Of course, I'm going to have to take the clock apart and fix it. The brad was too short and I didn't secure it very well, so Daniel pulled it off in about 2 seconds. Pretty impressive actually!
I was having a brain block on what to do for 2 of the pages, so when I found fabric in my stash that had construction stuff I was excited! The car is stuffed with the black and white dotted fabric on the back. I sewed a tube with elastic in it so it was gathered. The tube is sewn to the back of the "garage" so he can drive the car to the dirt pile without it getting lost.

The flowers snap on and the felt stems and leave are simply stitched on. A marker and modge podge fire in a zipper teepee was fun to put together too.

Are your apples falling far from the tree? I hope not! That's what the velcro is for!

The pages of the book are cut from very heavy craft interfacing stuff, not an iron variety. I wanted 8x8 pages, so cut them 9x18. That left a 1/2 inch seam allowance on all side, with 2 "pages" per sheet. 4 sheets gave me 8 "pages". Each half got a design. When I had all the "pages" filled, I stitched them back to back so each set had 2 designs on the front and 2 on the back. A 1/2 seam and trimmed close to the stitching with pinking shears. The construction pages are the middle of the book. I layered them 1- cover, 2- page, 3- page with construction stuff on top. A strait simple seam down the middle, and voila! A book.
The cover was a little tricky though. I cut a front and a back from the gray fabric, 10x19 I think so it would be about 9x9 when finished. . On the first piece, the front right side I sewed on the title. On the 2nd piece, the front left side got the pocket. Stack them back- wrong side up, front- wrong side up, and batting. Sew around the sides, leaving an opening to turn it inside out. The batting ends up sandwiched inside, the title on the front cover, and the pocket on the inside of the front cover. I sewed around the outside to close the hole and give it a finished look. Then I stacked the pages on and sewed it together.
Oren got a backrest bed cushion and reading pillow. The tutorial for the cushion is here. I adjusted the dimensions a little to make it smaller, since Oren isn't very big.

The reading pillow has a pocket on the front that can store a book, and elastic straps on the back to hold the book for you while you are reading. Pretty cool! Find directions here.

William's quilt! I love how this turned out, and am very proud to say that there are no puckers in the quilting on the back! It's flannel-backed, so it's nice and warm. I can wait to tuck him in bed tonight, all cozy... The pattern came from a book I checked out at the library, and it's machine stitched "in the ditch".

And the boys' pajamas! Oren, Nathan and William. Williams are huge on him, the green frog ones. I don't think I'll do sleeves like that again on a premade shirt. The tubes were easy to do, but then I had to get them sewn onto the inside of the sleeve, which didn't fit onto the arm of my machine. That's why Nathan has a dog paw and Oren has a stripe on their shirts. Santa came and left them early on pillows, like usual, but resorted to buying a pair for Daniel. (I had no pattern for him that had feet and it's far too cold to go barefoot. Not when he doesn't stay under the blanket yet!)
 There are several sites with easy patterns for pajama pants online. I used an actual pattern I had, but they are all pretty similar.
6 comments:
All cute stuff! Gotta say, I love the reading pillow that holds the pages in place. That's awesome.
Hooray! Thanks for sharing all the tutorials/how you did things. I may do that reading pillow for hte girls' birthdays this spring, since they've got nothing good downstairs for watching tv. Cute jammies!
Everything turned out so cute! I am seriously so impressed. Love the little book especially. Hopefully it was worth all those late and long hours. I'm sure the boys loved everything.
Thanks! Definitely worth all the hard work, they all loved their stuff. Mark was impressed by the final products too. Next year I'm starting way earlier though. :-)
What cute projects - I was surprised to see you used Mod Podge on the book. It turned out so fun!
very cute! all of it! I love that the pillow holds the book--how clever is that!!!!
So much fun, and so much TALENT went into making all that. :) go you!
Post a Comment